> ## Documentation Index
> Fetch the complete documentation index at: https://docs.moca.network/llms.txt
> Use this file to discover all available pages before exploring further.
# How to Connect a Wallet With Moca Chain
> Connect a Web3 wallet to Moca Chain Mainnet or Testnet — configure MetaMask and other EVM wallets, deploy an AIR Account, and interact with the network.
Blockchain wallets allow you, and only you, to access your assets on Moca Chain. Wallets enable this by allowing you to create and store your private keys, which can then be used to prove that you can access the assets in the wallet to do things such as trade tokens, buy NFTs, play games, and more.
**To interact with Moca Chain you can either:**
* Deploy your AIR Account on Moca Chain
* Connect via your Web3 Wallet
* Or try out our [Block Explorer](/mocachain/native-dapps/block-explorer)
### Deploy your AIR Account on Moca Chain
Interactive demo coming soon
## Moca Chain Networks 🌐
Copy and paste these values into any wallet that supports importing RPCs. Choose **Mainnet** for production assets or **Testnet** for development and experimentation. For the full network specification (CometBFT, LCD, consensus, and gas parameters), see the [Network Information](/mocachain/using-moca-chain/network-information) page.
### Moca Chain Mainnet
**Access Required**
Mainnet RPC access requires an API key. Contact the Moca Chain team to obtain your key before connecting your wallet.
| Key | Value |
| ------------------ | ---------------------------- |
| Network | `Moca Chain Mainnet` |
| RPC URL | `https://rpc.mocachain.org` |
| Chain ID | `2288` (`0x8F0`) |
| Currency symbol | `MOCA` |
| Decimals | `18` |
| Block explorer URL | `https://scan.mocachain.org` |
### Moca Chain Testnet
| Key | Value |
| ------------------ | ------------------------------------ |
| Network | `Moca Chain Testnet` |
| RPC URL | `https://rpc.testnet.mocachain.dev` |
| Chain ID | `222888` (`0x366A8`) |
| Currency symbol | `MOCA` |
| Decimals | `18` |
| Block explorer URL | `https://testnet-scan.mocachain.org` |
## Supported Wallets 👛
Currently, any [EVM-based wallet](https://ethereum.org/en/wallets/find-wallet/) that allows `RPC importing` can be configured to work with Moca Chain.
Here are some examples of compatible wallets:
* [MetaMask](https://metamask.io)
* [Trust Wallet](https://trustwallet.com)
* [OKX Wallet](https://web3.okx.com/)
* [Ledger](https://www.ledger.com/)
## How To Set Up A MetaMask Wallet With Moca Chain 🦊
This will walk you through the steps of setting up and configuring a MetaMask wallet with Moca Chain.
Note: It is recommended that you set this up through Chrome.
### Step 1 - Install MetaMask
Go to MetaMask's [website](https://metamask.io/) and click to download the browser extension for your browser of choice. Make sure the extension is being offered by `metamask.io`.
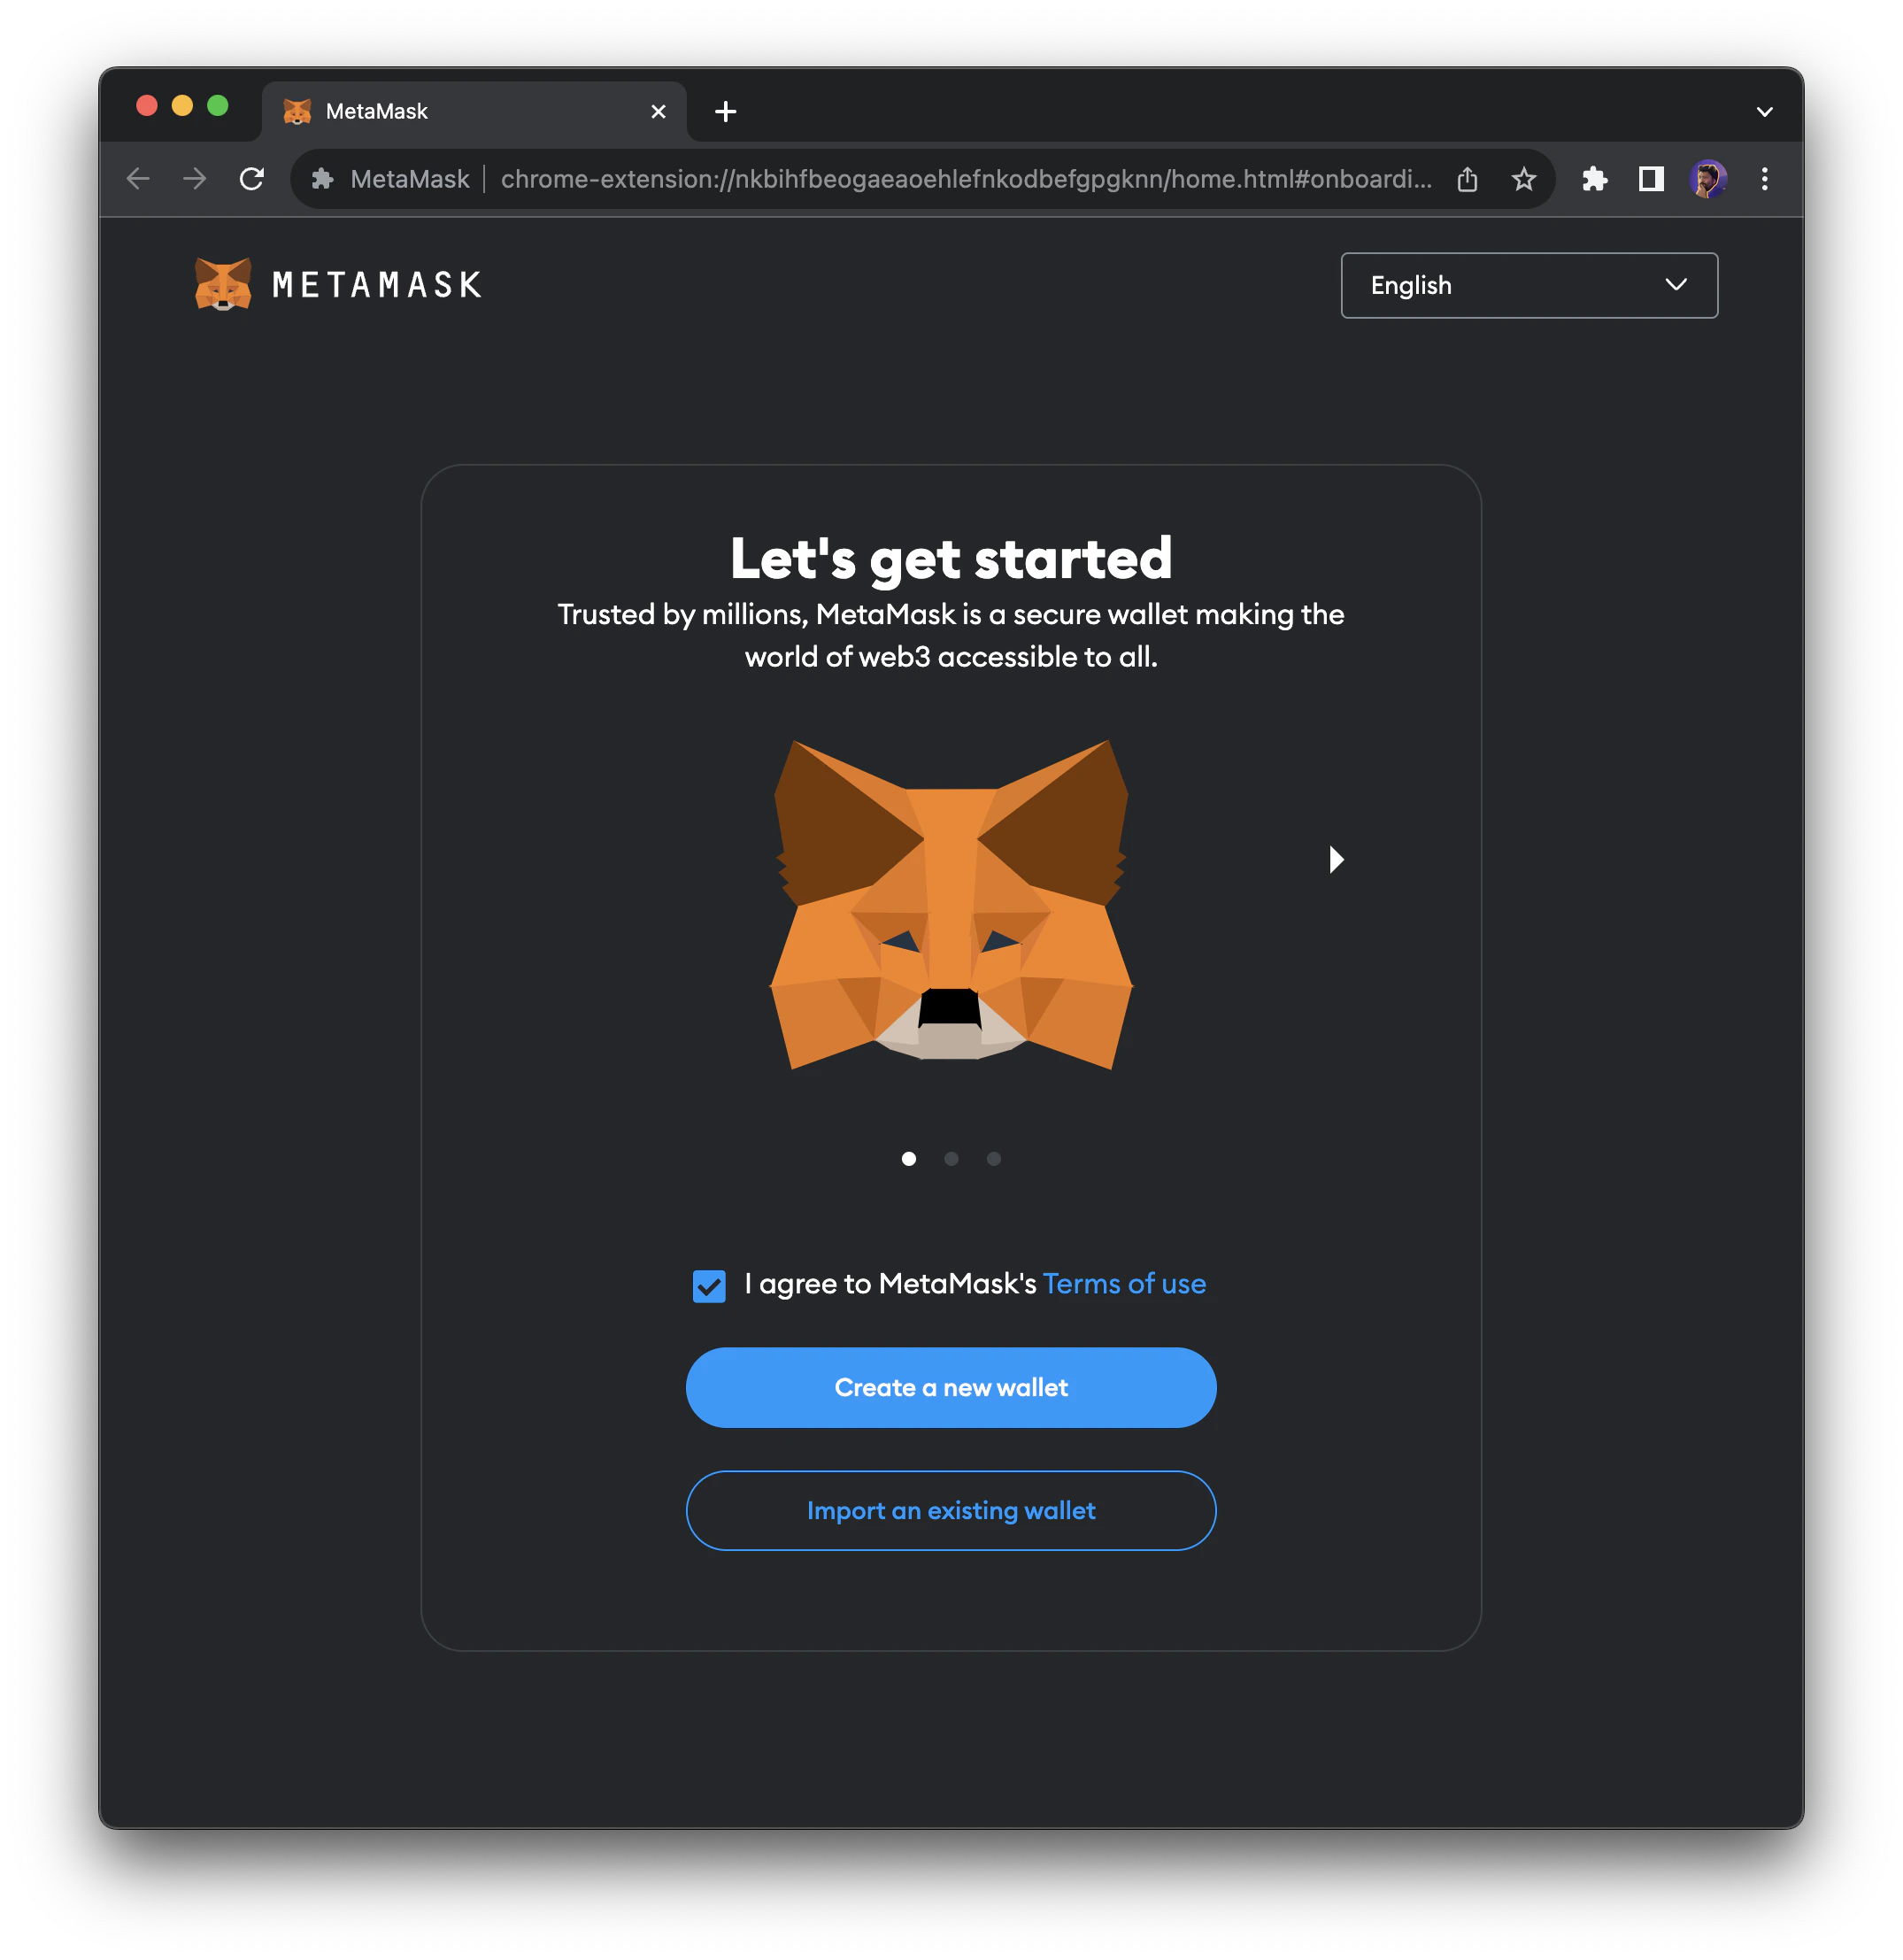
 ### Step 2 - Create Your Wallet in MetaMask
Once MetaMask finishes installing as a Chrome extension, the initial prompt will show up. Click the `Create a new wallet` button to start the process.
### Step 2 - Create Your Wallet in MetaMask
Once MetaMask finishes installing as a Chrome extension, the initial prompt will show up. Click the `Create a new wallet` button to start the process.
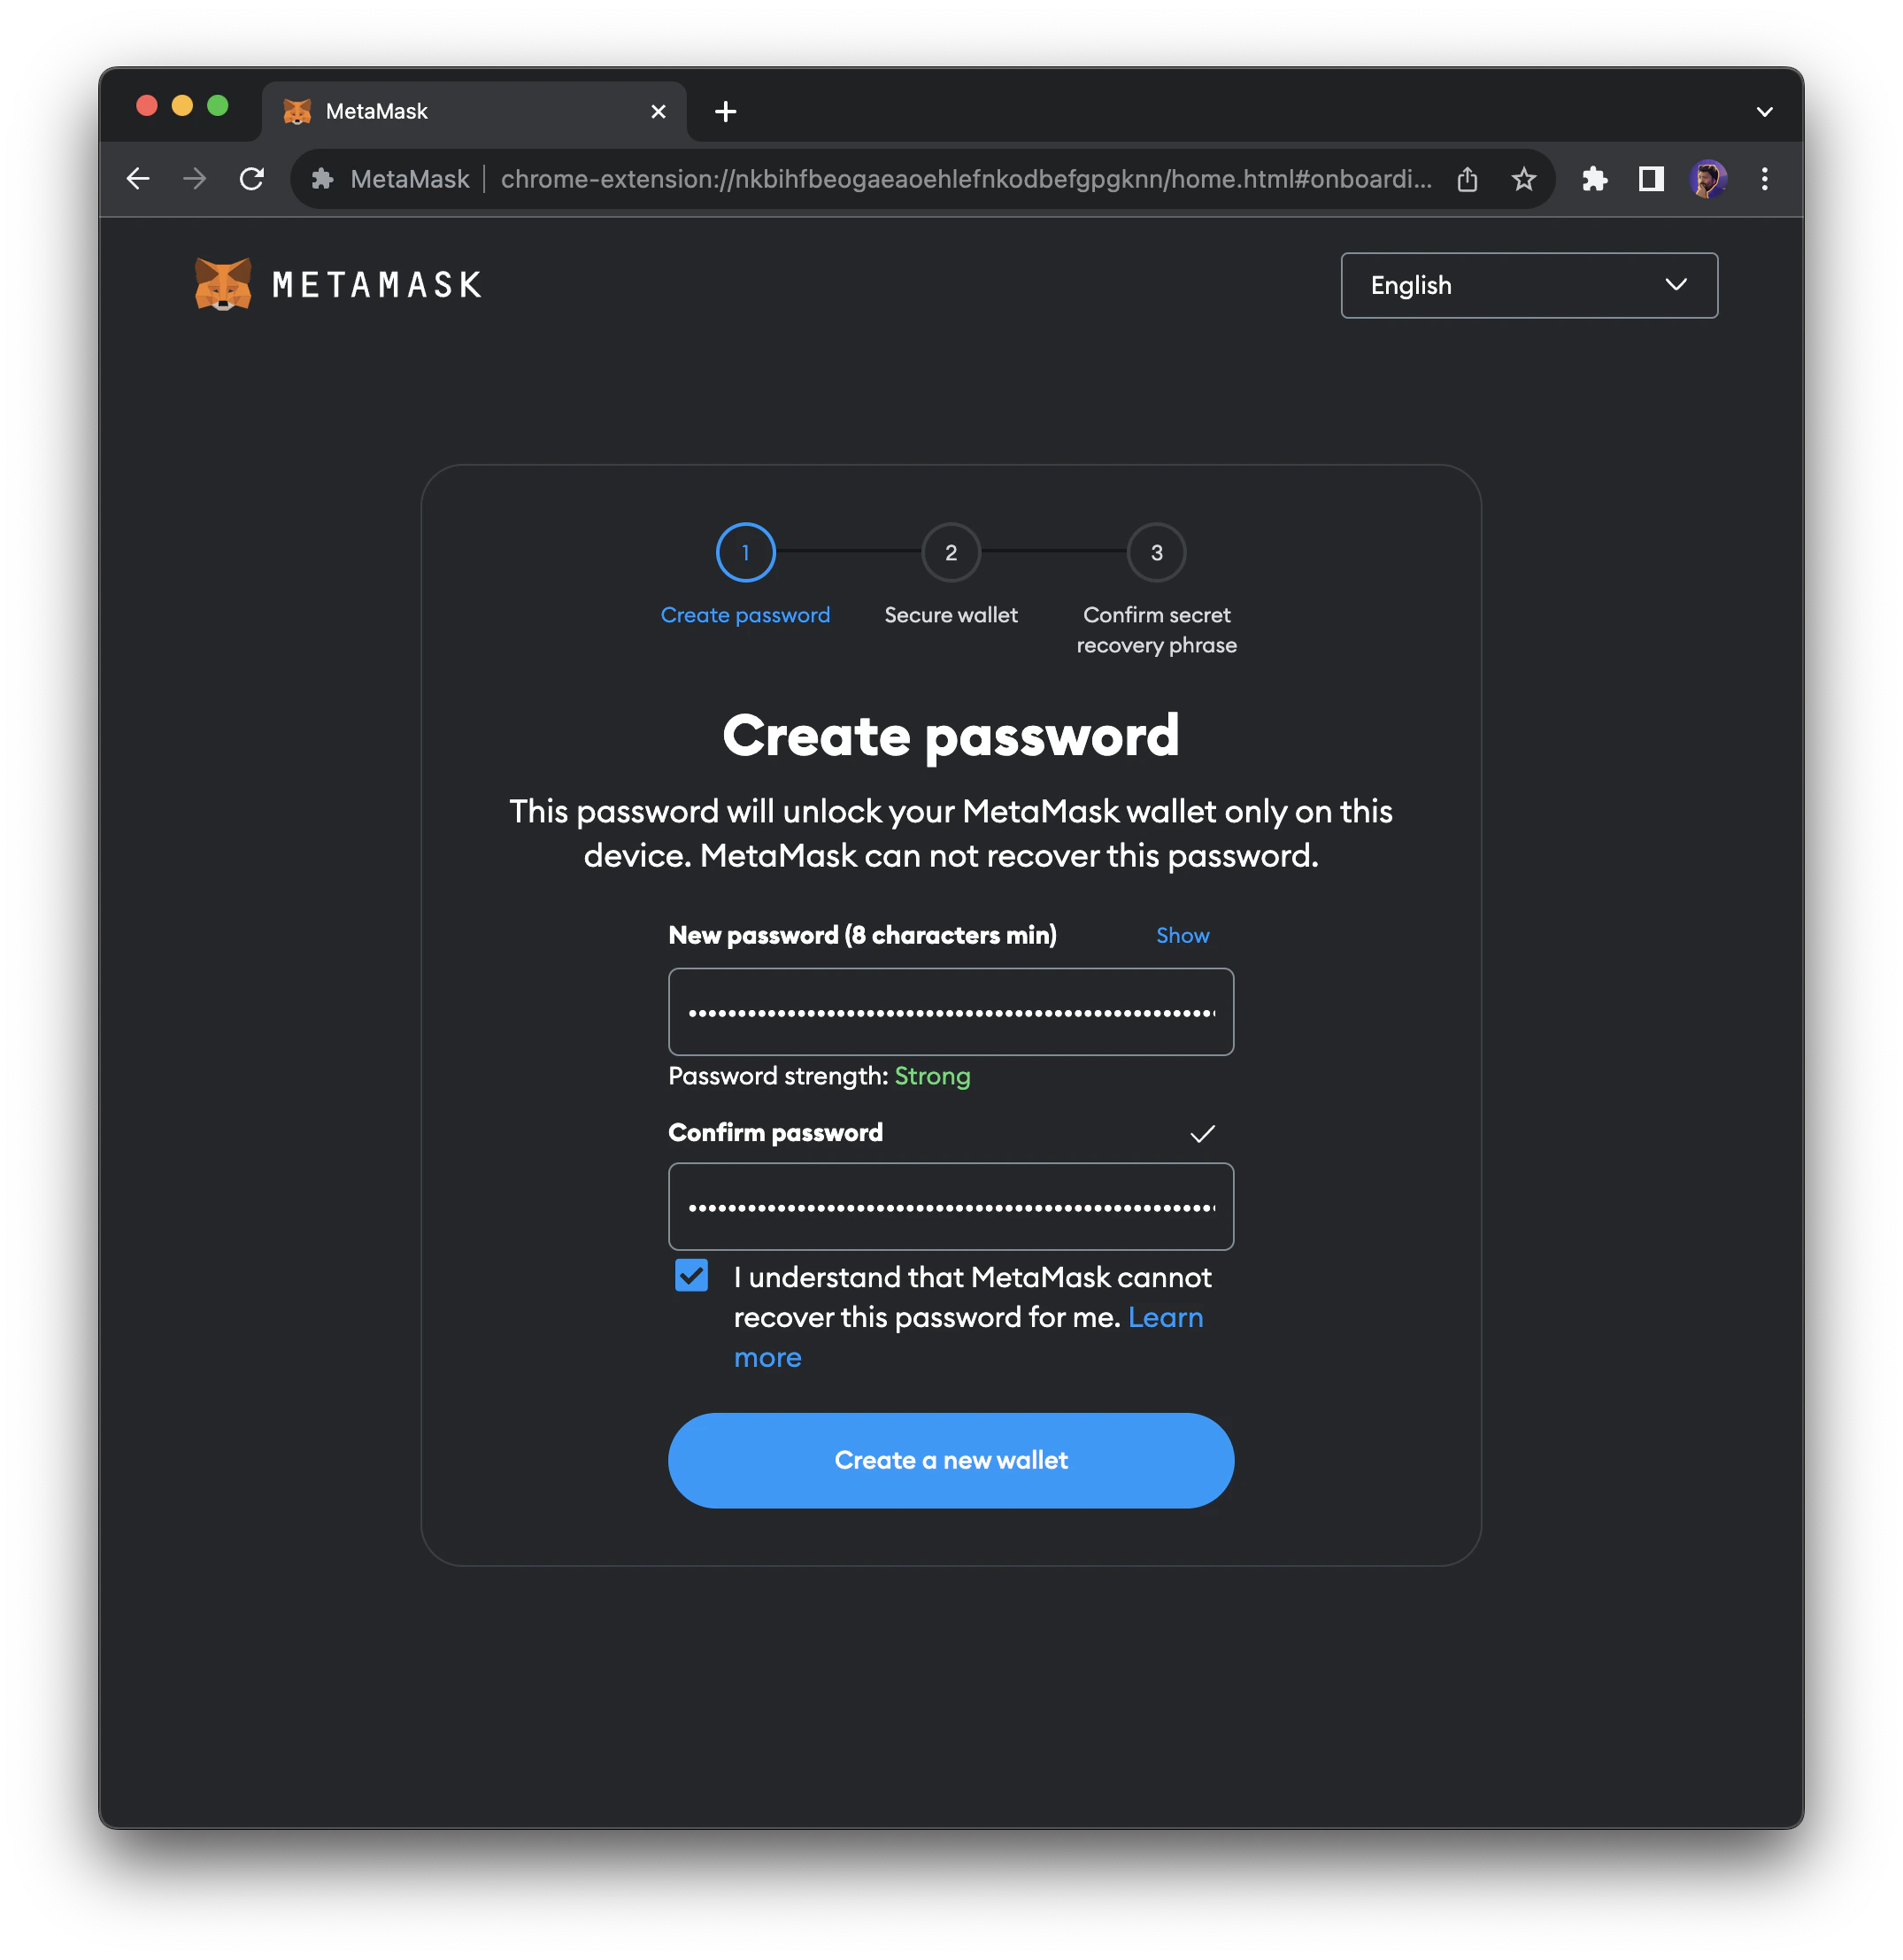
 This will ask you to first set a password. This is the password you will enter when you open up the MetaMask extension:
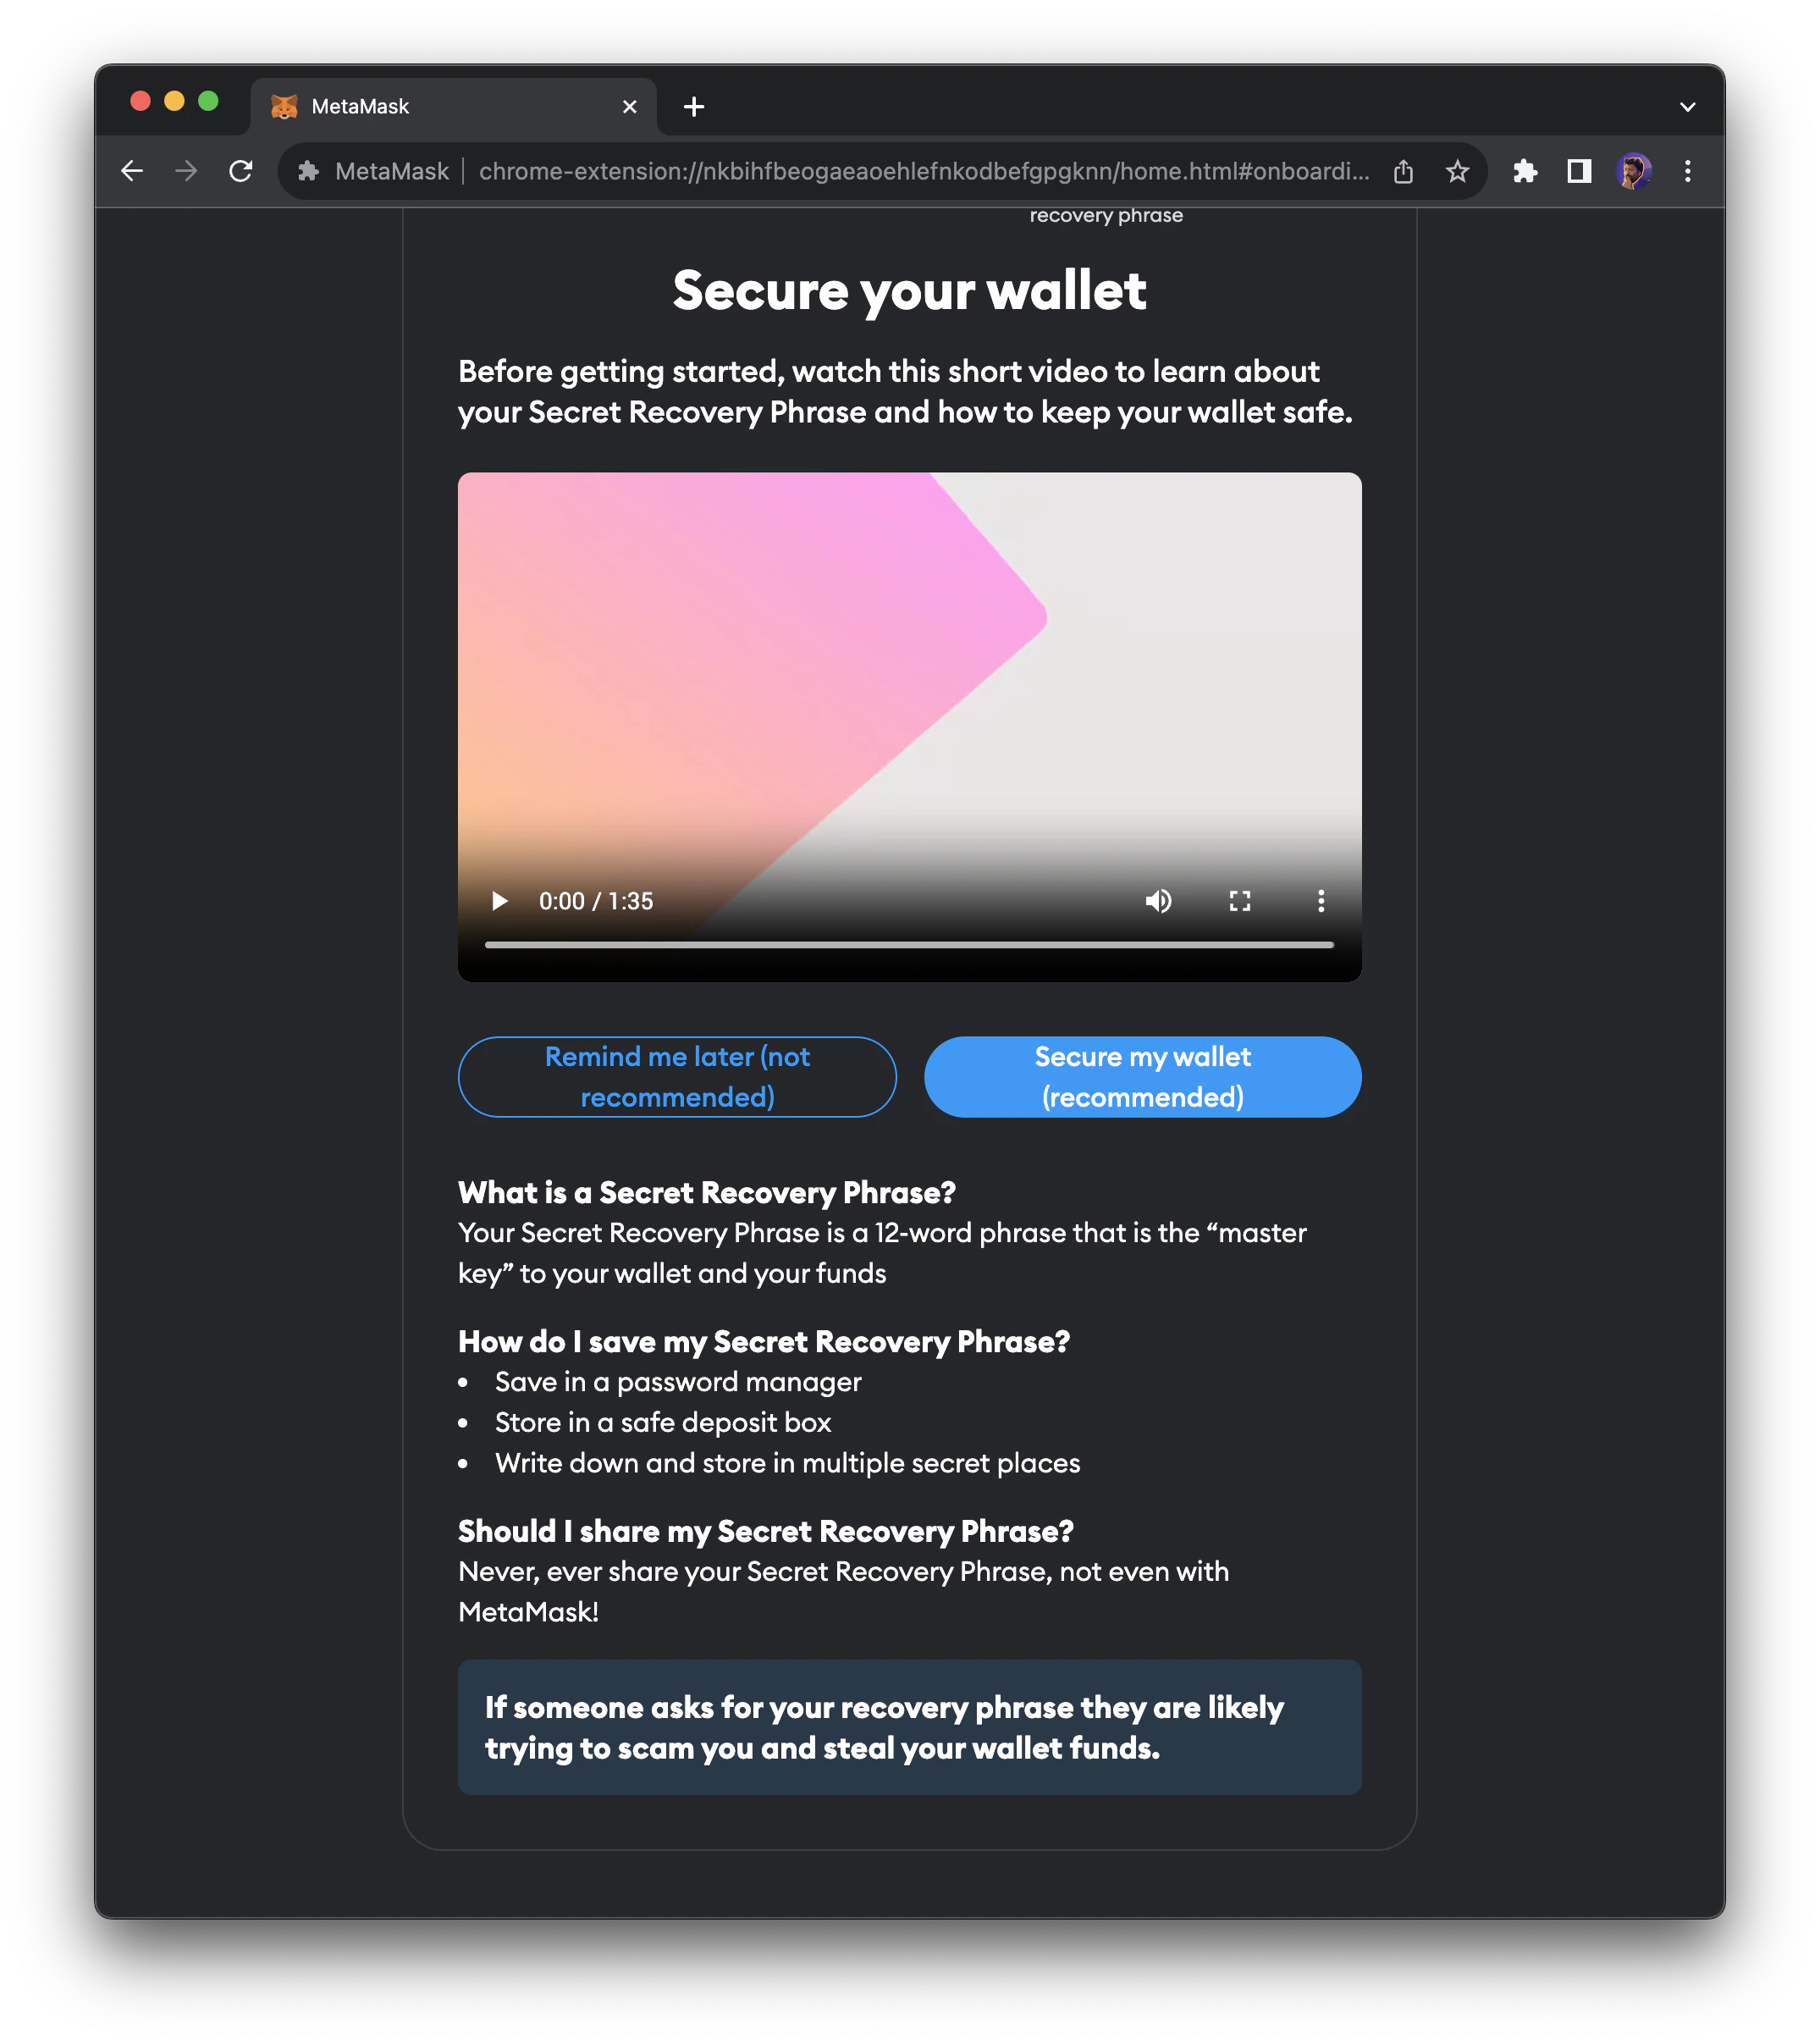
 Next, follow the instructions to secure your wallet phrase. This step is very important as the wallet phrase is what is used to prove that you own the assets in your wallet.
 🎉 Congratulations! You've set up your MetaMask wallet!
## Add Moca Chain Network To Your Wallet 🐻
Wallets can connect to various blockchains, with MetaMask setting Ethereum as its default blockchain. In order to connect to Moca Chain, we'll need to add the network to MetaMask and select it.
### Add Moca Chain Network in One Click
Use the network details from the **Mainnet** or **Testnet** table above to add Moca Chain to your MetaMask wallet, or add it manually below.
### Add Moca Chain Network Manually
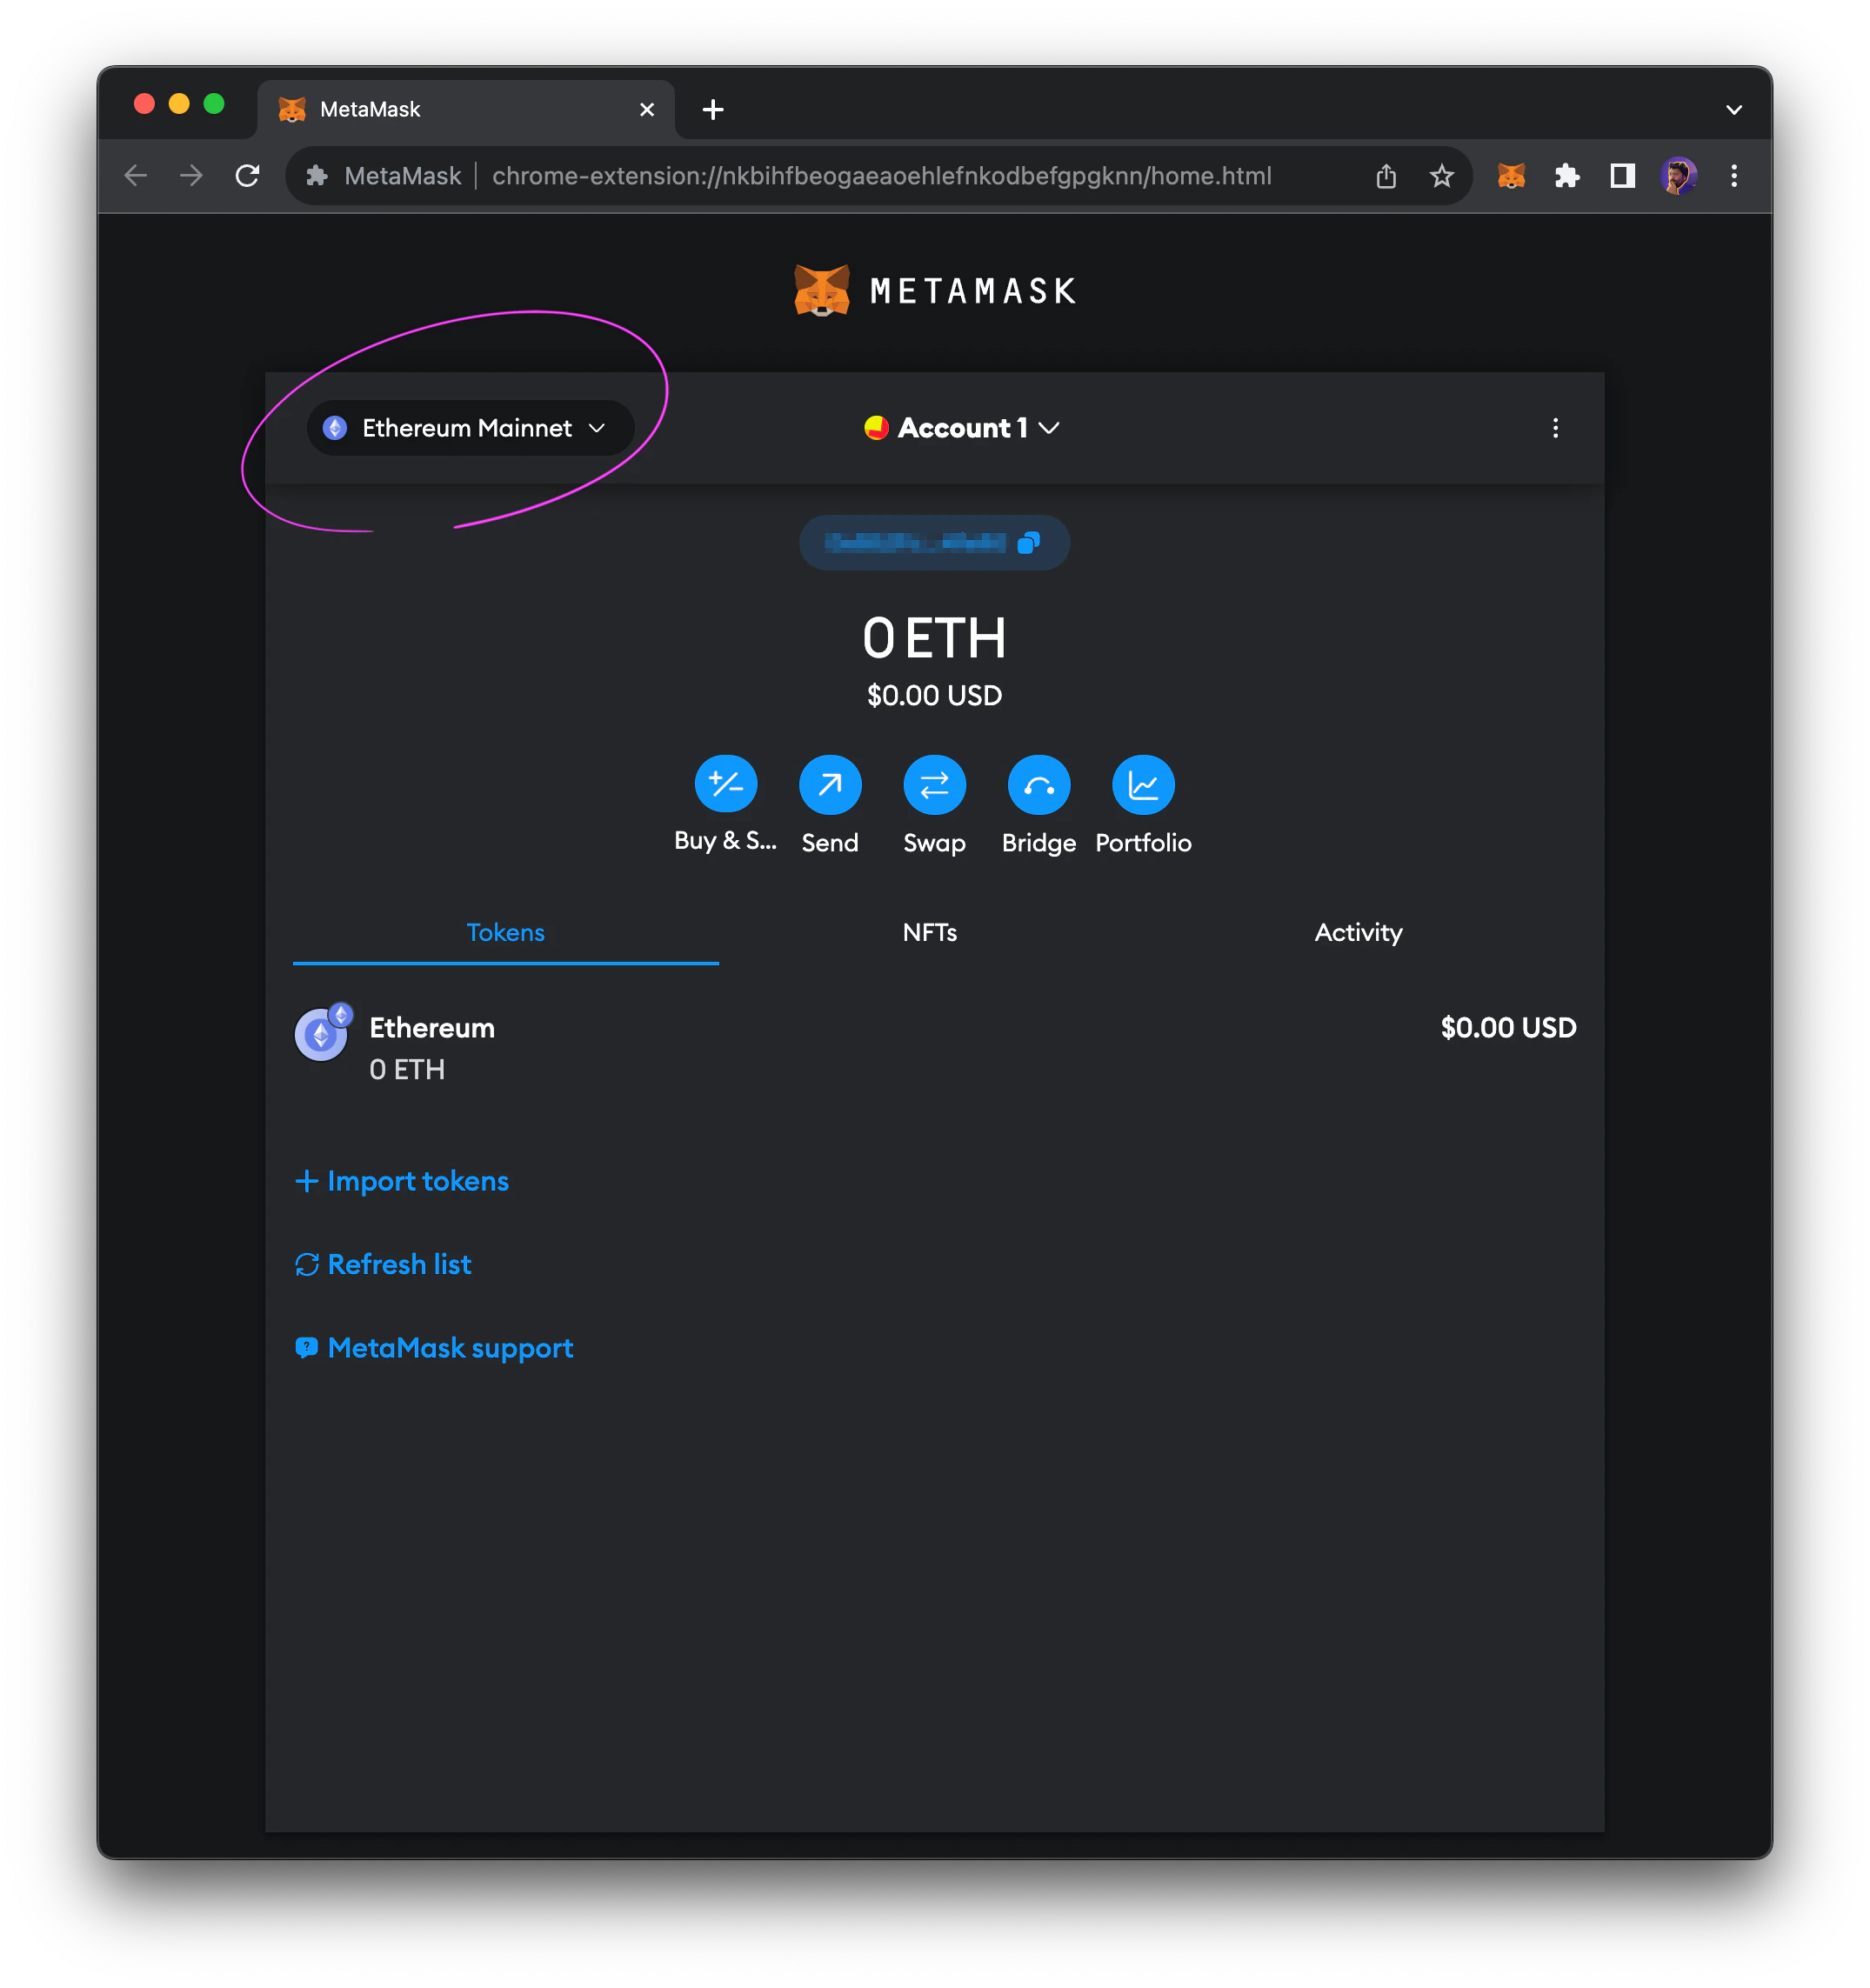
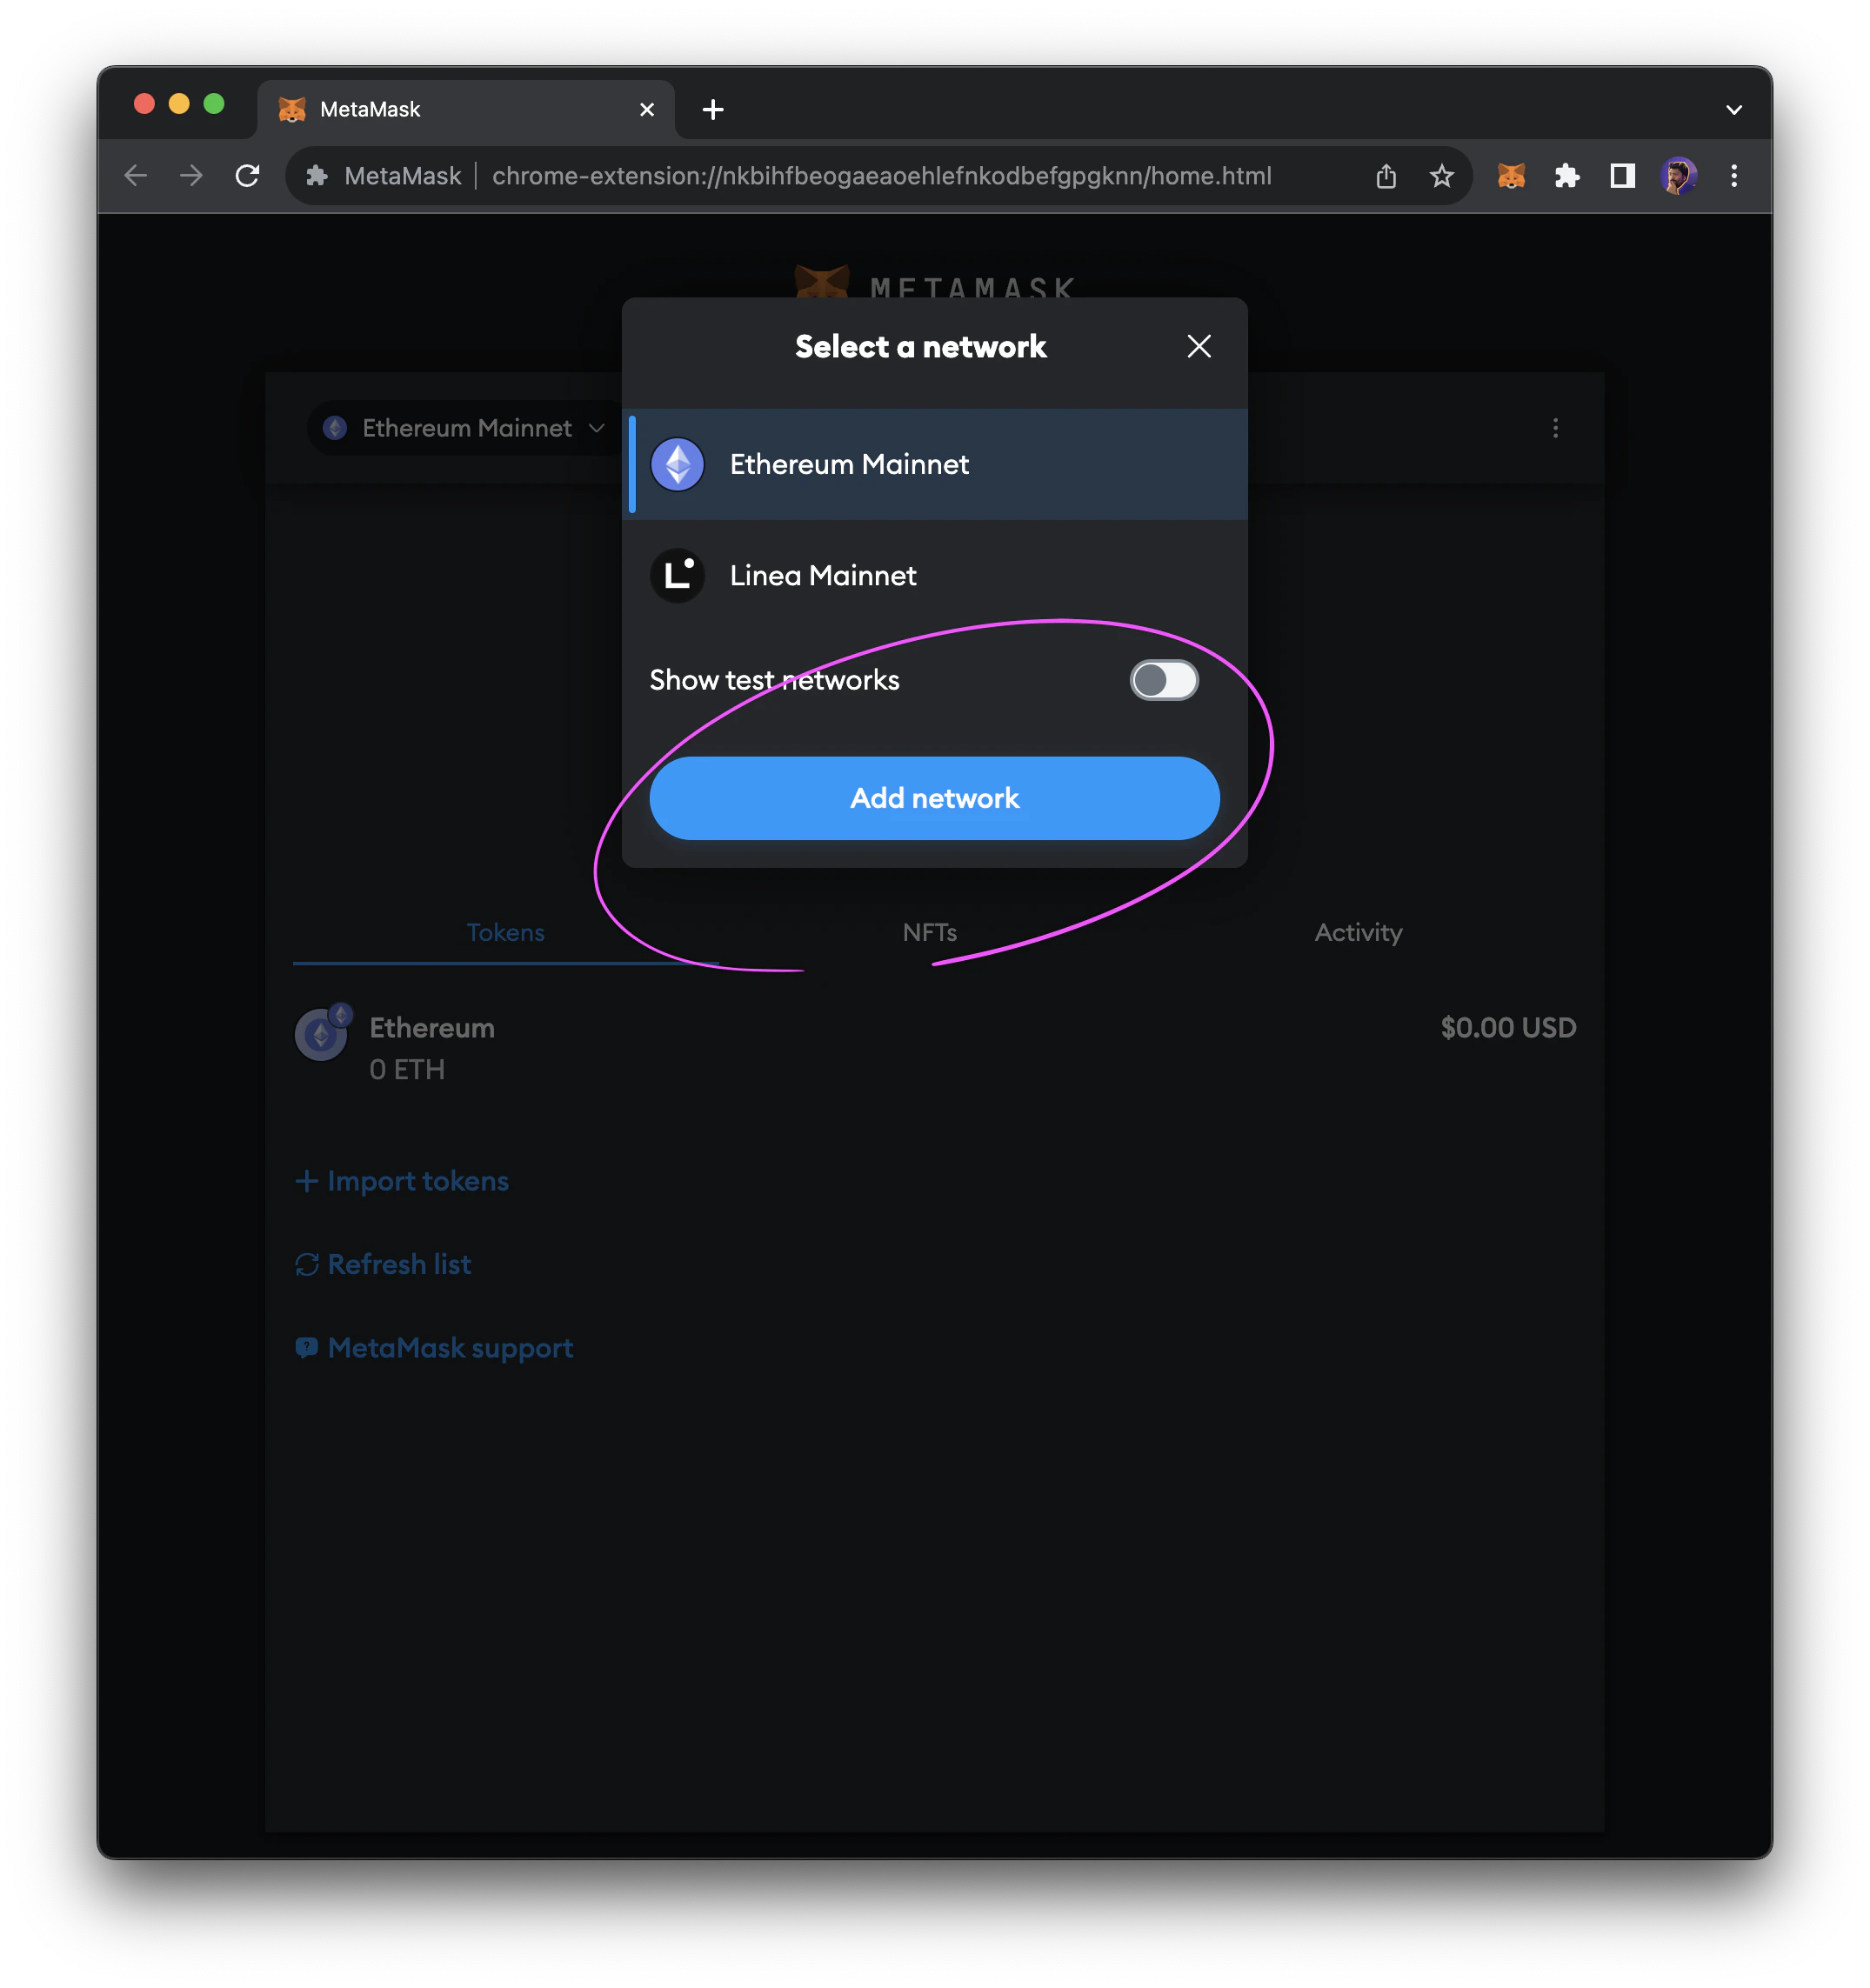
To add the network manually, click the drop-down in the top-left of MetaMask.
🎉 Congratulations! You've set up your MetaMask wallet!
## Add Moca Chain Network To Your Wallet 🐻
Wallets can connect to various blockchains, with MetaMask setting Ethereum as its default blockchain. In order to connect to Moca Chain, we'll need to add the network to MetaMask and select it.
### Add Moca Chain Network in One Click
Use the network details from the **Mainnet** or **Testnet** table above to add Moca Chain to your MetaMask wallet, or add it manually below.
### Add Moca Chain Network Manually
To add the network manually, click the drop-down in the top-left of MetaMask.
 When the modal appears, click the `Add network` button.
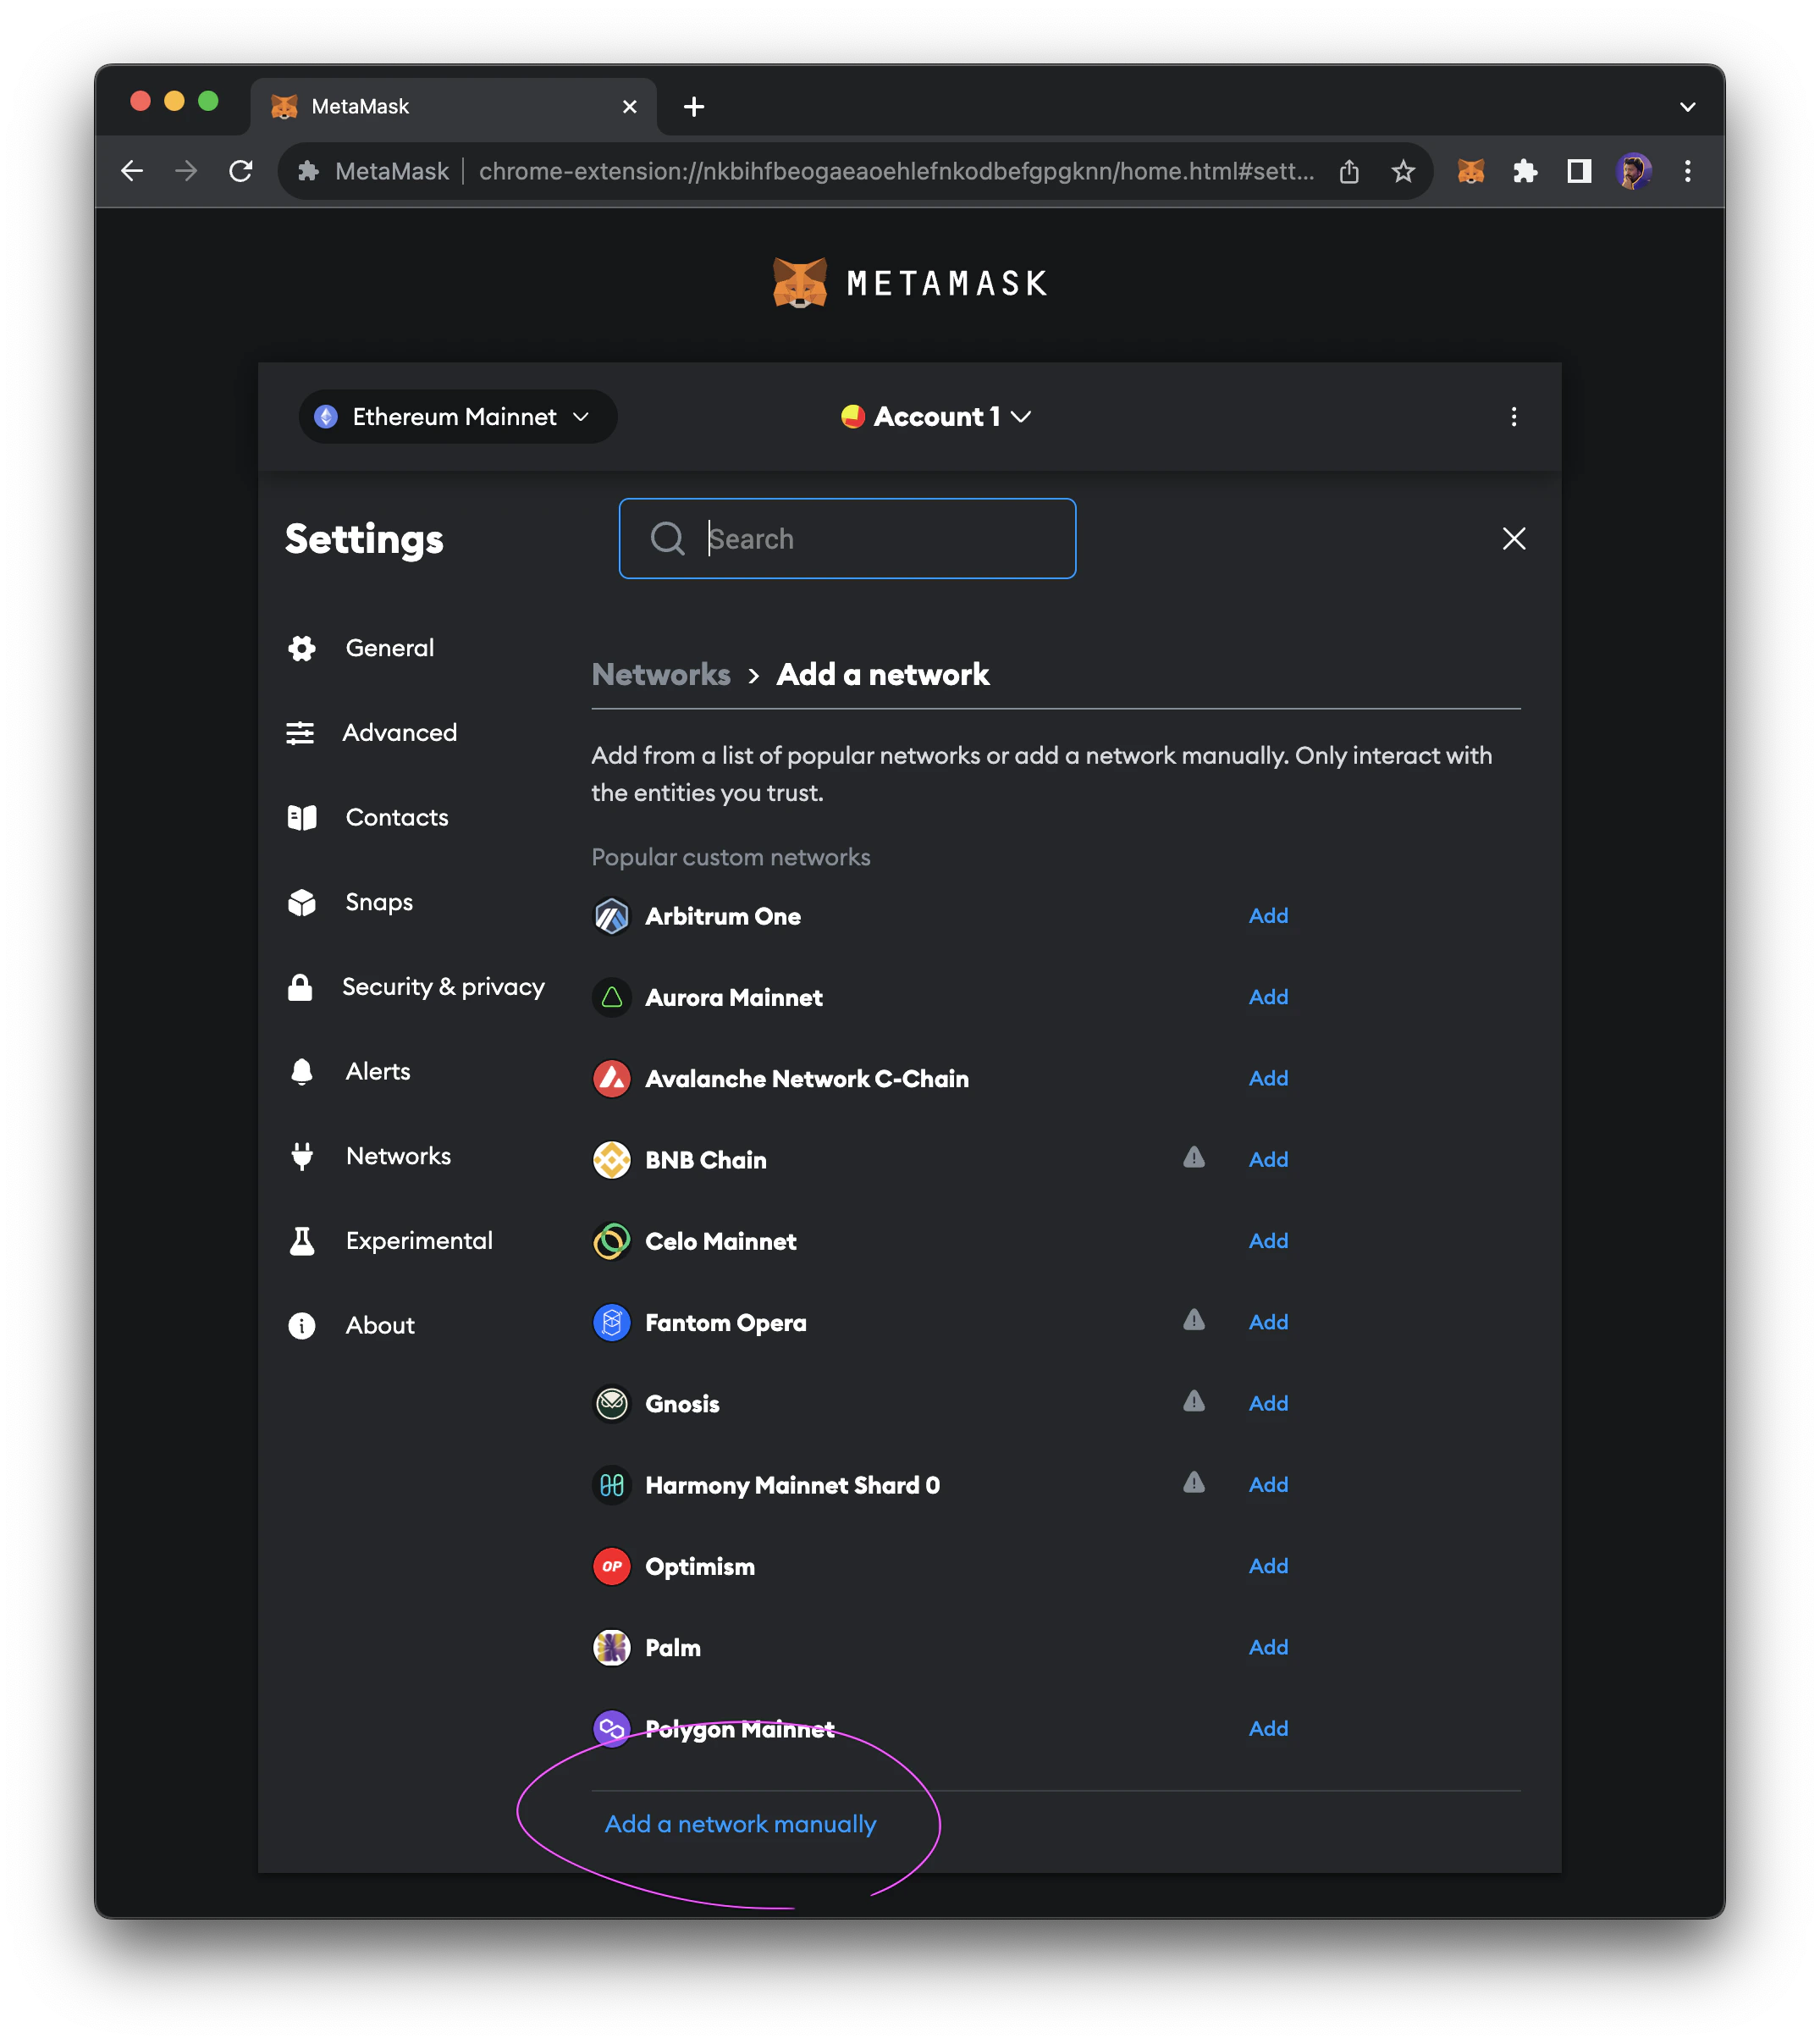
 At the bottom of the existing list, click `Add network manually`.
 Enter the values from the table that matches the network you want to use — Moca Chain Mainnet or Moca Chain Testnet — to configure MetaMask.
Once the data is entered correctly, click `Save`.
After saving the network configuration, you should be connected to your selected Moca Chain network.
Enter the values from the table that matches the network you want to use — Moca Chain Mainnet or Moca Chain Testnet — to configure MetaMask.
Once the data is entered correctly, click `Save`.
After saving the network configuration, you should be connected to your selected Moca Chain network.